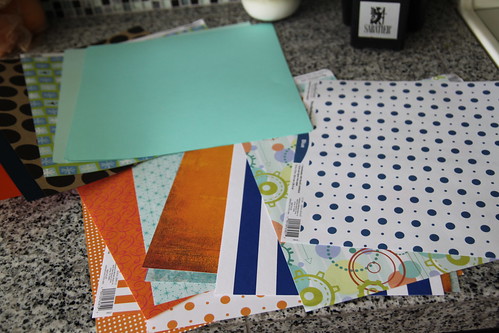
Her tutorial calls for double sided cardstock. I ended up with some solid cardstock and some scrapbook paper that I glue sticked together to make it double sided. I found this to work great.

Then the time consuming part. Copying the pattern piece onto the paper and cutting it out. Each pinwheel takes two of these. Since I made 11 of them, I repeated this step 22 times.
Very long and boring….but an easy project to do while vegging out in front of the TV.
I am not much of a paper crafter, so I had to buy a mini paper punch to make the holes. It was another purchase, but it made the whole process so much easier.
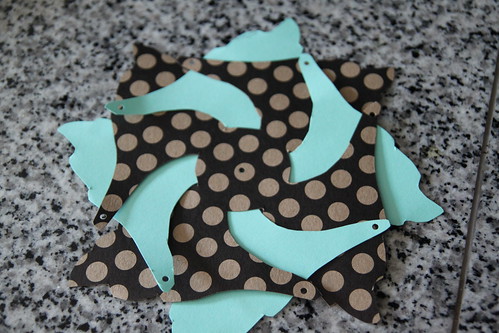
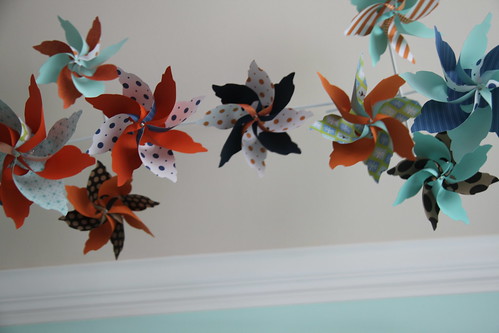
After you meticulously cut them out, slide them together and put a little glue around the center so they do not slide apart.

For each of my pinwheels, one piece was solid and the other was pattern.
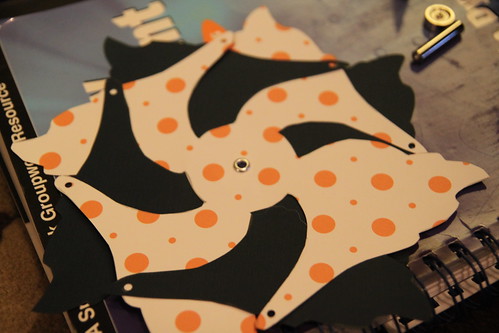
Then, like she instructs, you attach an eyelet through the center hole. She says to put a second eyelet in to bring all the pieces together in the center to form your pinwheel, but I found this too difficult. I could not maneuver the eyelet setter thing (I told you I was not a papercrafter) inside the pinwheel and bang the top with a hammer without totally crunching my paper or having some of the spindles fall off the eyelet. Grrrrr. So I bought some mini brads from the scrapbooking aisle and those worked like a charm.
Now that the pinwheels were all constructed, we just needed to figure out a way to hang them in a mobile like fashion. My first thought was constructing something out of wire.
So Derek spent an evening trying to manipulate wire in such a fashion to make it look smooth and professional while being able to allow 11 pinwheels to spin gracefully. This part of the project led to Derek’s frustration…..and three crumbled up masses of wire. I thought about photographing that for the blog, but decided that it would not would have been appreciated.
Onto Plan B….the old standby of dowel rods.
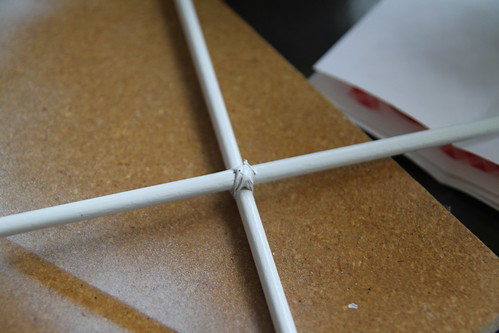
We decided to use one longer dowel rod as the base and then make two X’s with smaller dowel rods to hang beneath. The X’s were secured with fishing line and wood glue and then spray painted. Holes were drilled at the end of all the dowel rods in order to be able to string fishing line through to hold pinwheels.
And then the fun task of hanging the pinwheels with fishing line began. This was a two person job….one person to hold the contraption and the other to string the pinwheels. Or to play with the pinwheels and watch them spin while the other did all the work. Not that that was me though. I was focused the whole time.
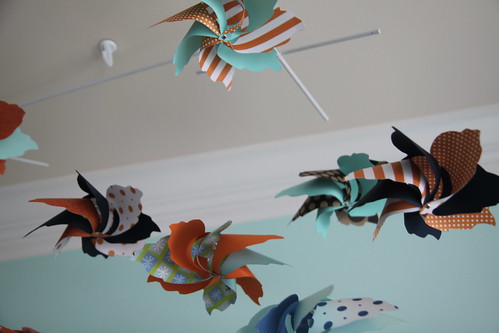
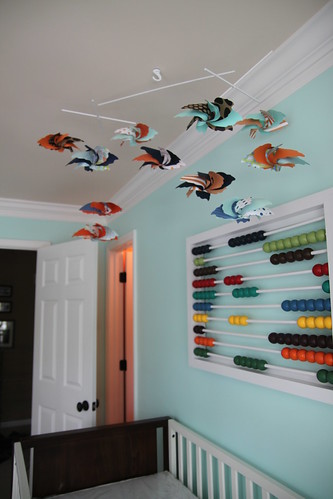
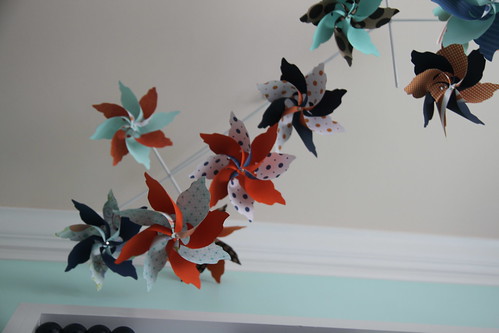
Anyway, we used a bead strung through the eyelet hole to secure the pinwheels and allowed them to move freely in the breeze. We constructed each dowel rod X separately with its pinwheels at varying heights and then put it all together to get this:
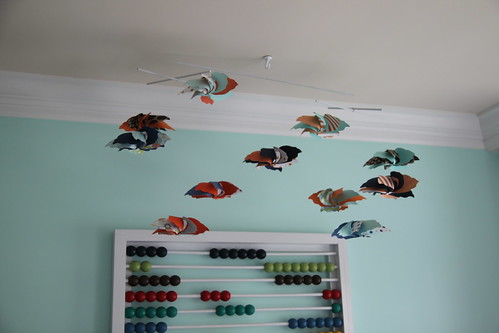
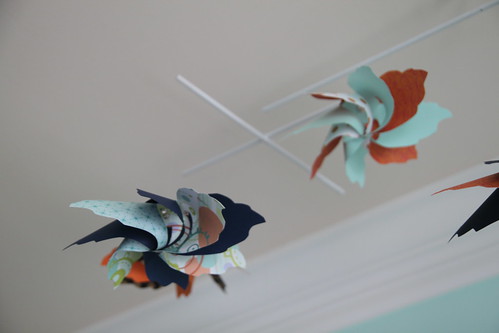
And the view from the crib looks like this:
They spin so easily…I almost made a video of them spinning. But then decided that it may be the most boring video ever. So I didn’t. You’re welcome.

Không có nhận xét nào:
Đăng nhận xét